
Agents can now quote up to 10 locations under a single admitted Business Owner’s Policy (BOP) directly in the Rainbow portal for restaurant or beauty & wellness risks.
Eligibility is the same as single-location quotes but underwriting decisions are evaluated at both the policyholder level and the individual location level. As a result, quotes will be declined, referred, or bindable based on a combination of the policyholder status and each location status.
General Liability and Liquor Liability limits are set at the policy level, while property coverages are configured for each location. Optional coverages are also available – some at the policy level and others at the location level.
Agents can bind directly in the agent Rainbow portal or share the quote with the insured to complete binding in the insured Rainbow portal, just as they would for a single-location policy.
Let’s get started!
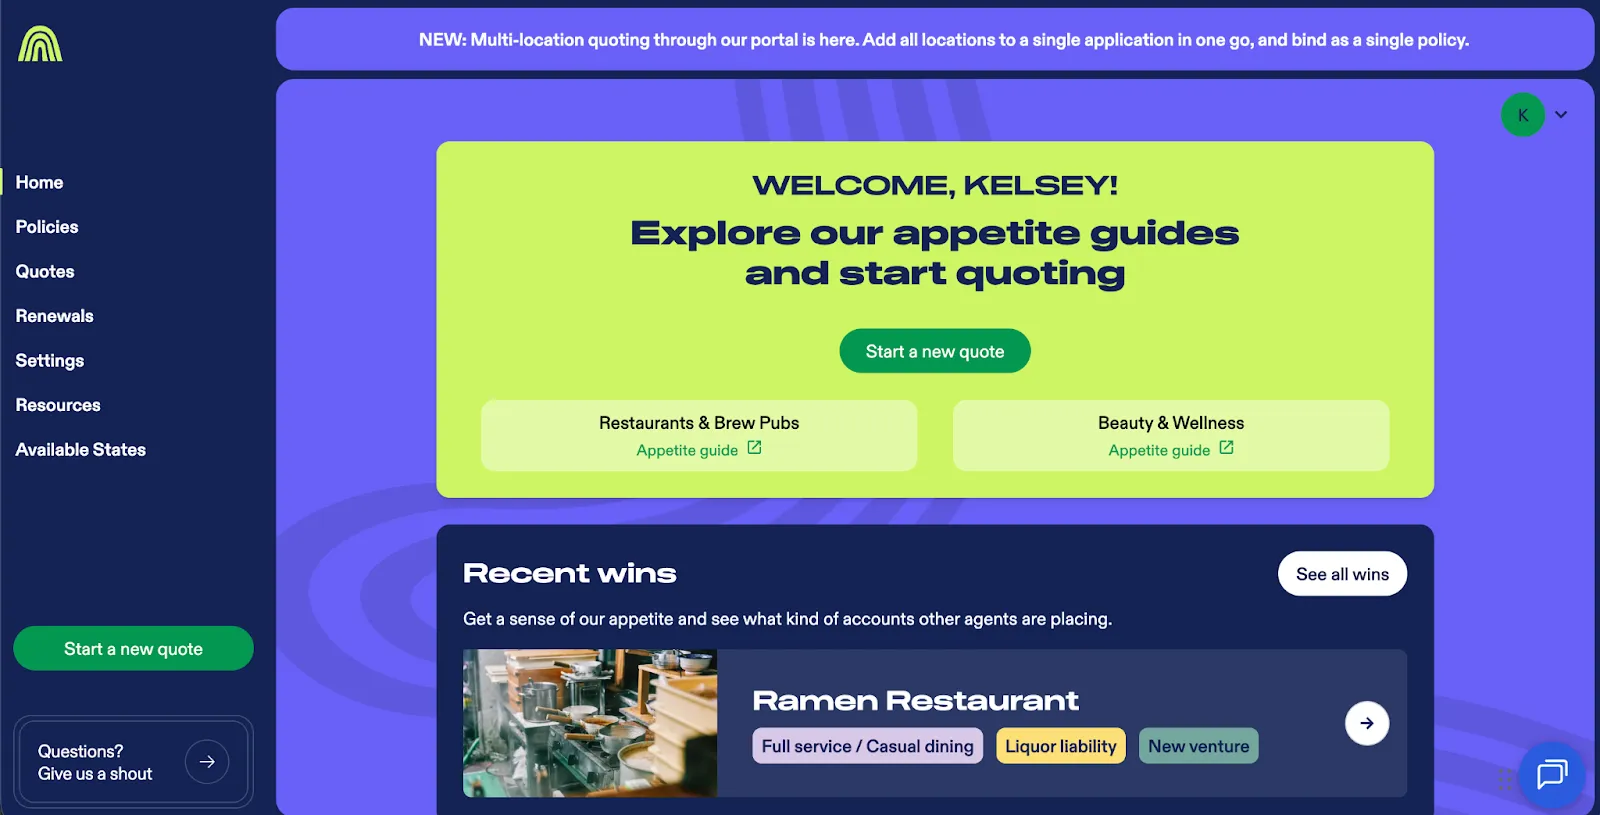
This article explains how to quote up to 10 locations under a single admitted Business Owner’s Policy (BOP) directly in the Rainbow portal.
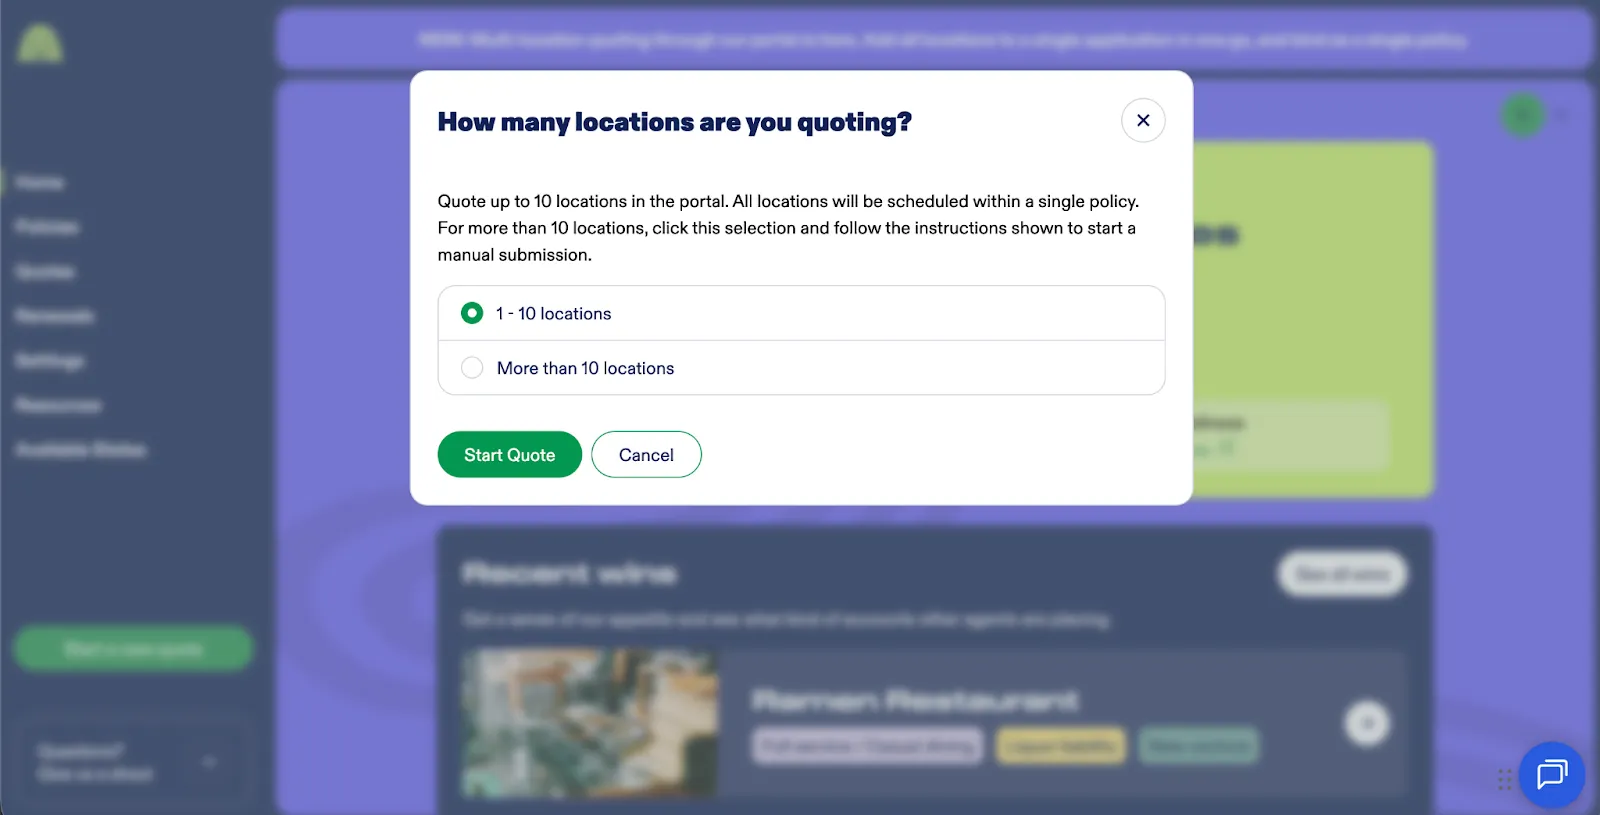
More than 10 locations requires a manual submission.
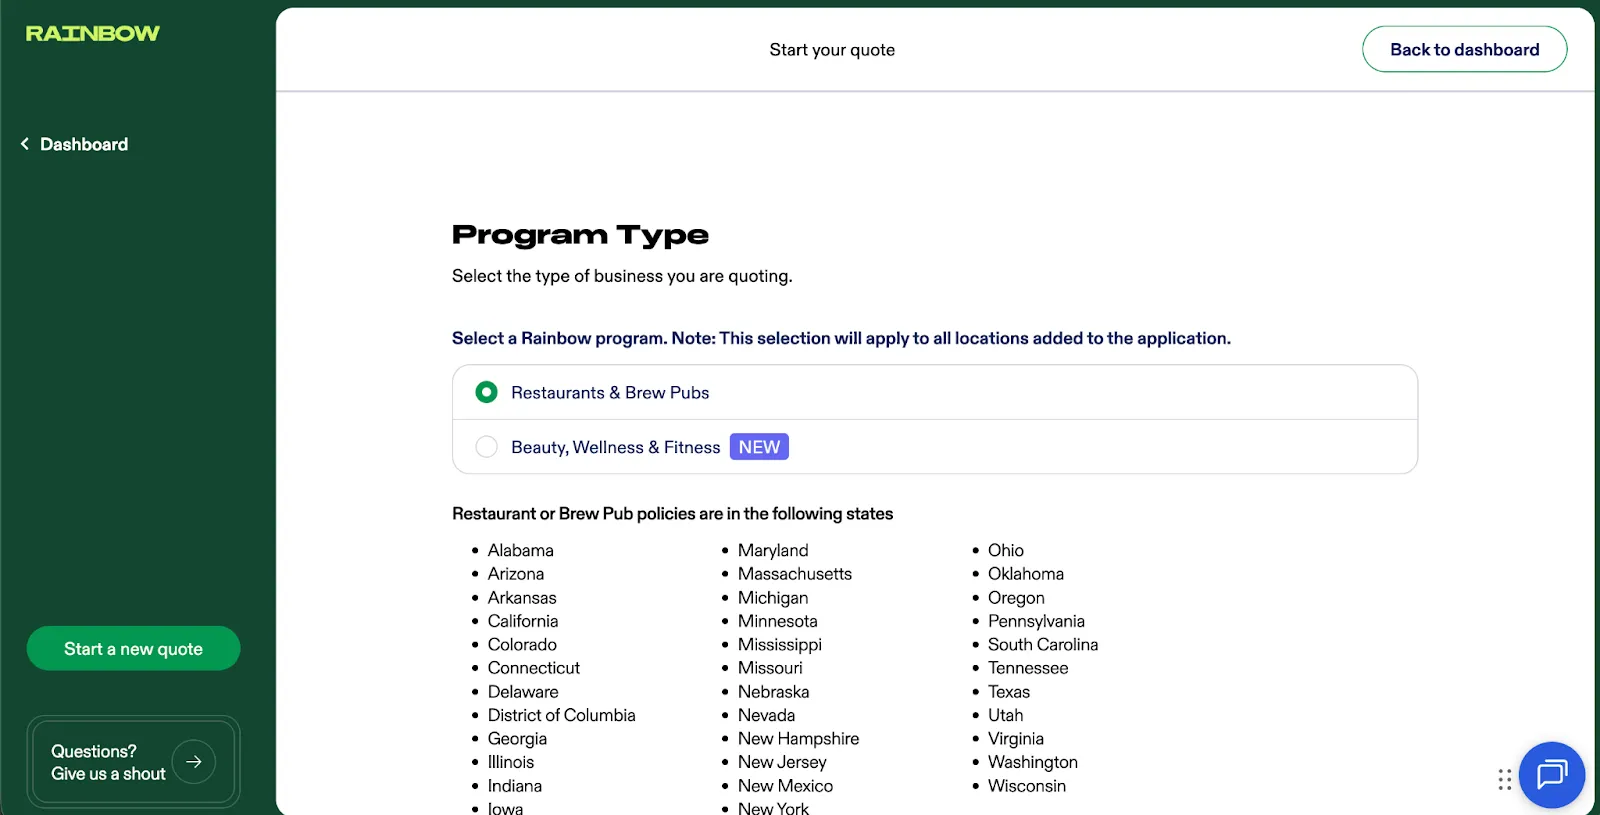
Step 4: Select program type
The selection will apply to all locations added to the application.
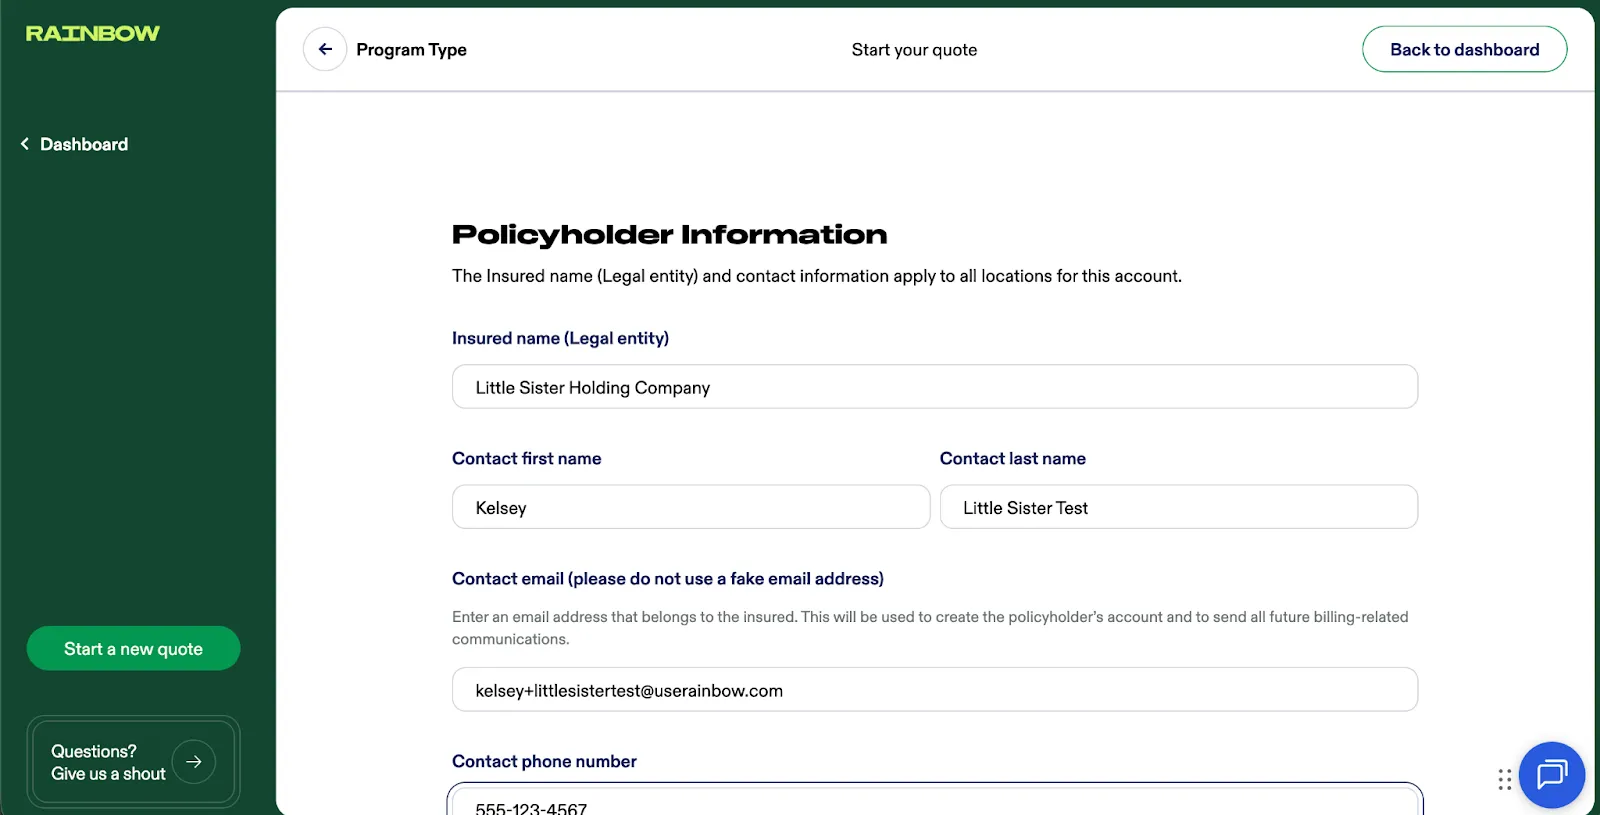
Step 5: Input the policyholder information
The insured name is the legal entity name. You will be asked to indicate the DBA per location later.
There is only one contact per policy, even for multi-location policies. All post-bind communications will be emailed to the contact email address and the insured will use this email to log in to Rainbow too.
Use the address autocomplete to ensure we capture a standardized, accurate address for underwriting and reduce the risk of errors from manual entry. If multiple locations share the same DBA, try typing part of the street address after the DBA (e.g., “Little Sister Irvine”) to quickly find the specific location you’re looking for. Always review the selected address before confirming.
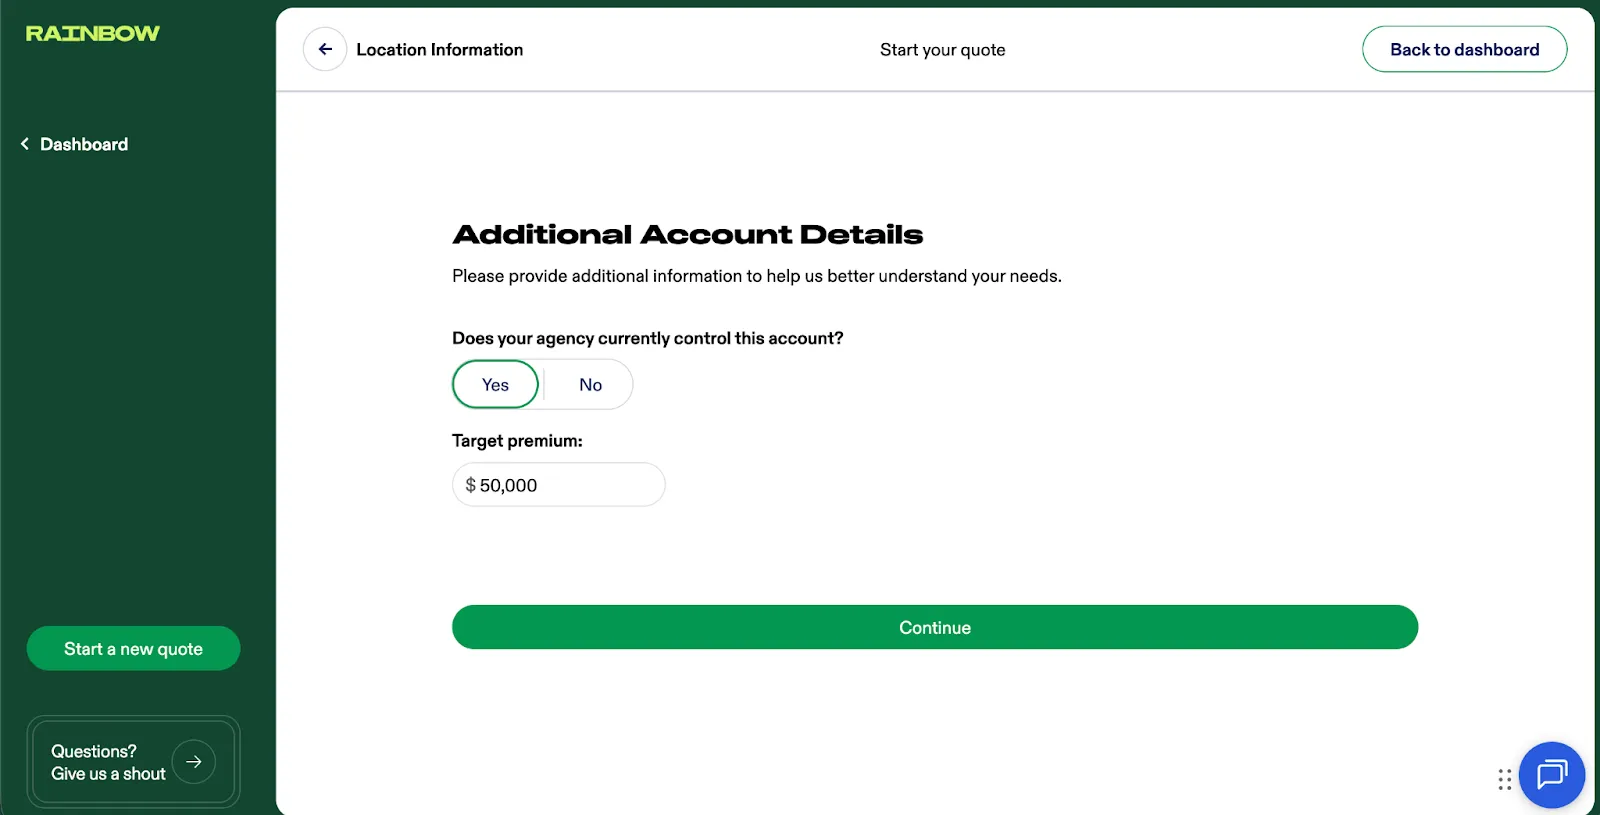
Enter a target premium to give the underwriter helpful context if the quote goes to referral—for example, the premium from a competing quote or the insured’s current policy. Information to help us better understand your needs.
We ask a few policy-level eligibility questions upfront so we can quickly determine if the risk qualifies before you spend time completing the full questionnaire.
Select policy-level coverages like General Liability, Liquor Liability and HNOA.
The Statement of Values (SOV) template can make it easier to gather and organize property information before entering it into the application.
The template uses the same fields as the spreadsheet component in the multi-location application. The SOV template may be helpful when you want to reuse an existing SOV from a previous policy or another carrier or review or update values with the insured on a call or during an in person visit.
Once the SOV is complete, you can copy one or more cells from the SOV and paste them directly into the spreadsheet component in the application to quickly populate location-specific information.
You can also enter information directly in the table by selecting values from available drop-down menus, dragging the fill handle (the small blue dot in the bottom-right corner of a completed cell) to copy values to other cells, or typing values manually using your keyboard.
White cells indicate fields that require a response. Gray cells are optional; however, certain answers may trigger additional required fields. When this happens, a gray cell may turn white to indicate that a response is now required.
On the Optional Coverages page, you can enter information in the same way as the previous step – by copying and pasting cells from the SOV, selecting values from drop-down menus, dragging the fill handle or typing them manually.
If you’re using the SOV template, refer to the second tab of the file labeled “Optional Coverages.”
On the Additional Interests page, you can enter information in the same way as the previous step – by copying and pasting cells from the SOV, selecting values from drop-down menus, dragging the fill handle or typing them manually.
If you’re using the SOV template, refer to the third tab of the file labeled “Additional Interests.
Schedule multiple Additional Interests by separating them with a semi-colon (;).
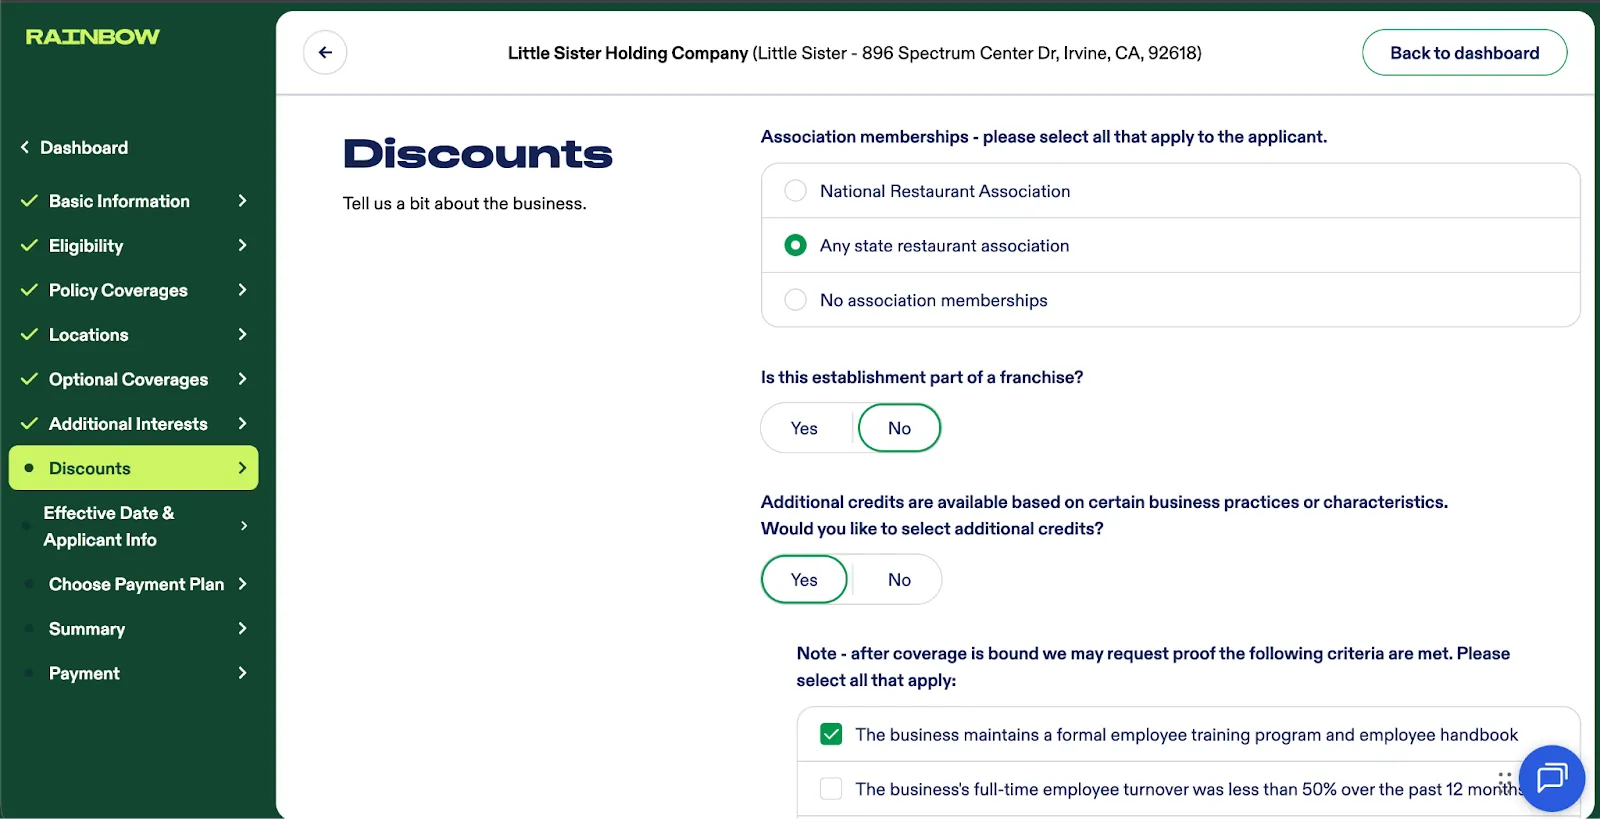
On the Discounts page, apply any applicable discounts. These discounts are included in the initial premium calculation.
If needed, you can return to this step and adjust the discounts later in the quoting process.
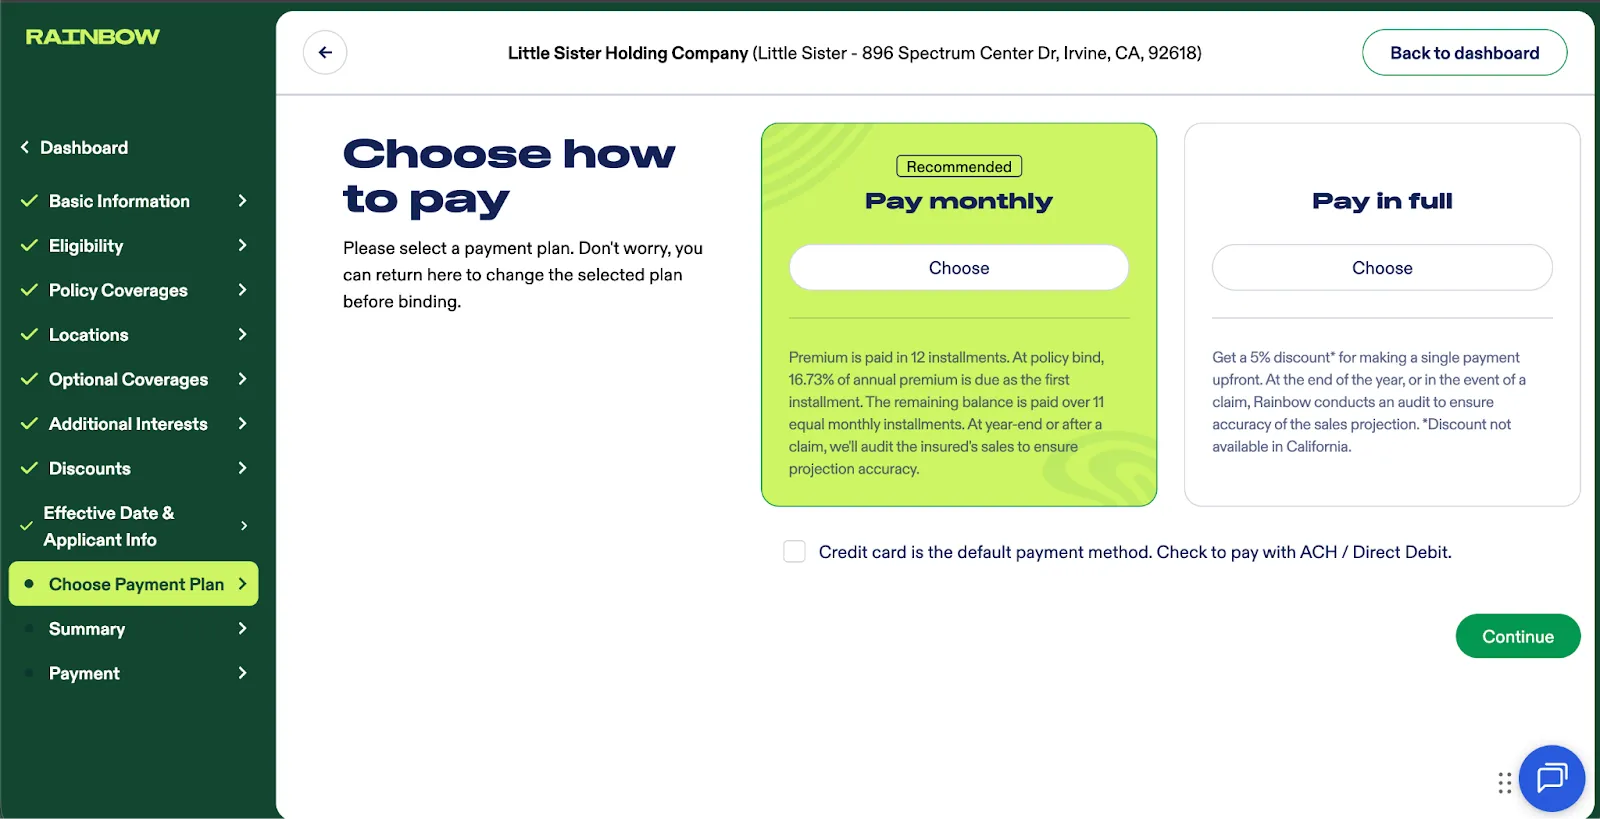
Choose the payment plan (Monthly or Full) and the payment method type (credit card or ACH). Credit card is the default payment method type.
The overall quote status is displayed at the top of the quote.
The quote status is a combination of the policyholder exposure status and the location exposure statuses.
Action Required: Refer Now
If the quote triggers a referral, it’s because the policyholder exposure and/or 1 or more location exposures have triggered a referral.
Scroll down to the locations table to see referral reasons by locations.
Click Refer Now to refer the entire risk to underwriting.
Ineligible
If the quote is ineligible, it’s because the policyholder exposure and/or 1 or more location exposures are ineligible.
Scroll down to the locations table to see which locations are ineligible.
To proceed with a bindable quote that excludes the ineligible location(s), deselect the ineligible locations using the checkboxes and click Save Changes.
Bindable
If the quote is bindable, it’s because the policyholder exposure and all selected location exposures are bindable.
Insured checkout
To have the insured complete the purchase, click Share Quote, confirm the policyholder’s contact email, and click Send email. The insured will receive an email with a link to securely create their account and log in to Rainbow.
Once logged in, the insured can view the quote summary, confirm the effective date, confirm required agreements, enter their payment information (credit card or bank account depending on the selected payment method) and complete the purchase. They will not be able to view or edit the application.
Before sending the checkout link, make sure you have confirmed the selected bindable locations.
Agent checkout
To complete the purchase on behalf of the insured, click Purchase.
You will be prompted to confirm the effective date, review the bindable locations, confirm required agreements (such as the Recurring Payment Authorization), and enter payment information using a credit card or bank account depending on the selected payment method. Once these steps are complete, you can finalize the purchase.
Congratulations! You’ve completed a multi-location quote-to-bind!


